
Table of Contents
What Are Barista Guides & Why They Matter
Welcome to your go-to Barista Guides for home espresso mastery. If you’ve ever dreamed of pulling café-quality shots in your own kitchen, you’re in the right place. A Barista Guide is more than a recipe—it’s a complete roadmap combining gear, technique, workflow, and troubleshooting to turn you into a confident home barista.
Over the next 11 sections, we’ll cover every step—from choosing the right gear and mastering espresso ratios to setting up your station efficiently and troubleshooting common issues. Each section is designed to give you actionable skills and knowledge.
By the end of this guide, you’ll be equipped to:
• Select and optimize your espresso gear
• Perfect your grind, dosing, and tamping skills
• Steam milk and create latte art with confidence
• Maintain your setup for consistent performance
• Diagnose and fix common espresso problems
And you won’t have to go through trial and error alone—we’ll link to trusted resources like our Espresso Machine Buying Guide and Grinders & Gear archive for deeper dives. Let’s brew better espresso together!
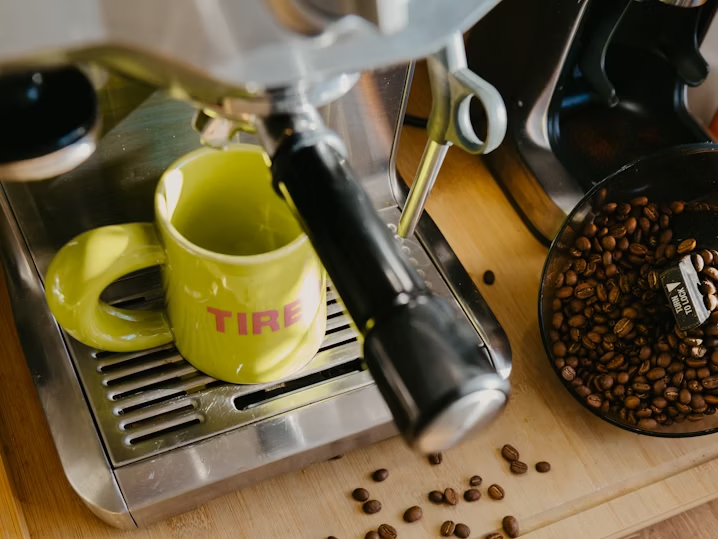
Espresso Gear Essentials for Every Home Barista
To excel as a home barista, you need reliable, well-chosen tools. This section covers the essential gear—espresso machines, grinders, tampers, scales, and more—that sets a strong foundation for every shot.
1. Espresso Machine
Your machine is the center of your setup. Semi‑automatic machines offer manual control with consistent pressure. If you’re new to espresso, a user‑friendly option with PID temperature control helps dial in shots more easily. Want recommendations? Check out our Espresso Machine Buying Guide for models that balance performance and budget.
2. Grinder
A good grinder delivers consistent grind size and adjustable settings. Burr grinders—preferably with 40–60 steps of adjustment—are ideal. Avoid blade grinders entirely. For quick reviews, see our Grinders & Gear roundup.
3. Scale
Precision in espresso starts with a reliable scale. A scale with at least 0.1 g accuracy allows you to measure dose and yield precisely—critical for dialing in recipes.
4. Tamper & Distribution Tool
A quality tamper ensures an even puck. Choose a 58 mm base for most machines or match your basket size. Want to elevate even further? Add a distribution tool like the Weiss Distribution Technique (WDT) stirrer.
5. Accessories & Extras
- Portafilter mats: Protect surfaces and keep trays clean.
- Knock box: For easy knock-outs and tidier stations.
- Cup warmer: Preheats cups and keeps shots at optimal temperature.

Even if you’re just starting, investing in solid gear pays off through consistency, ease of use, and better tasting espresso. Upgrading happens naturally as your skills develop.
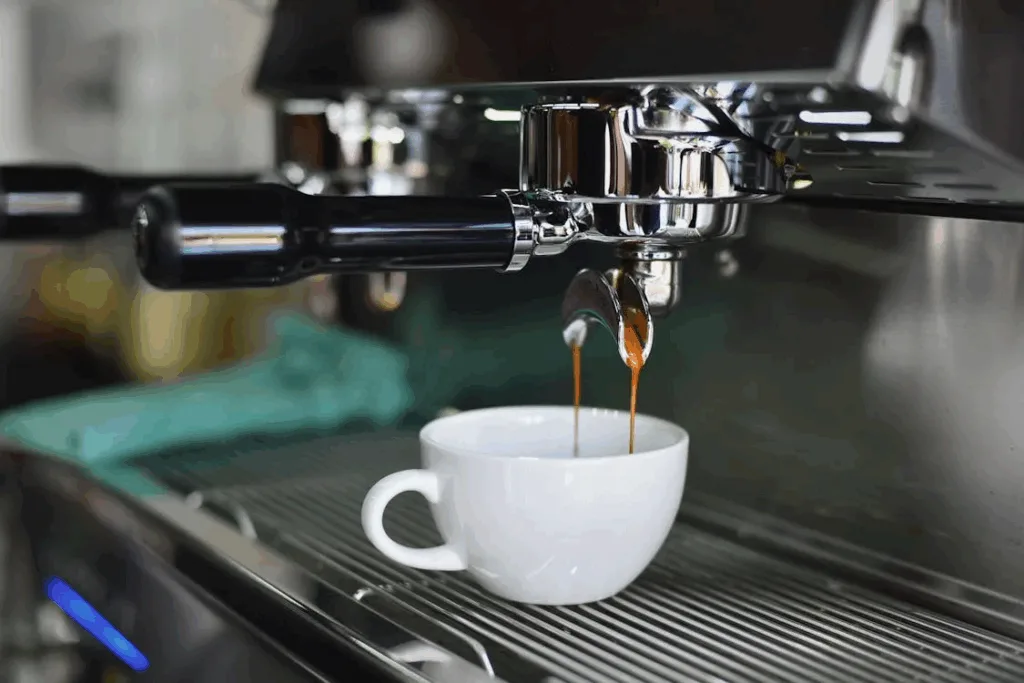
Understanding the Espresso Recipe — Ratio, Yield & Time
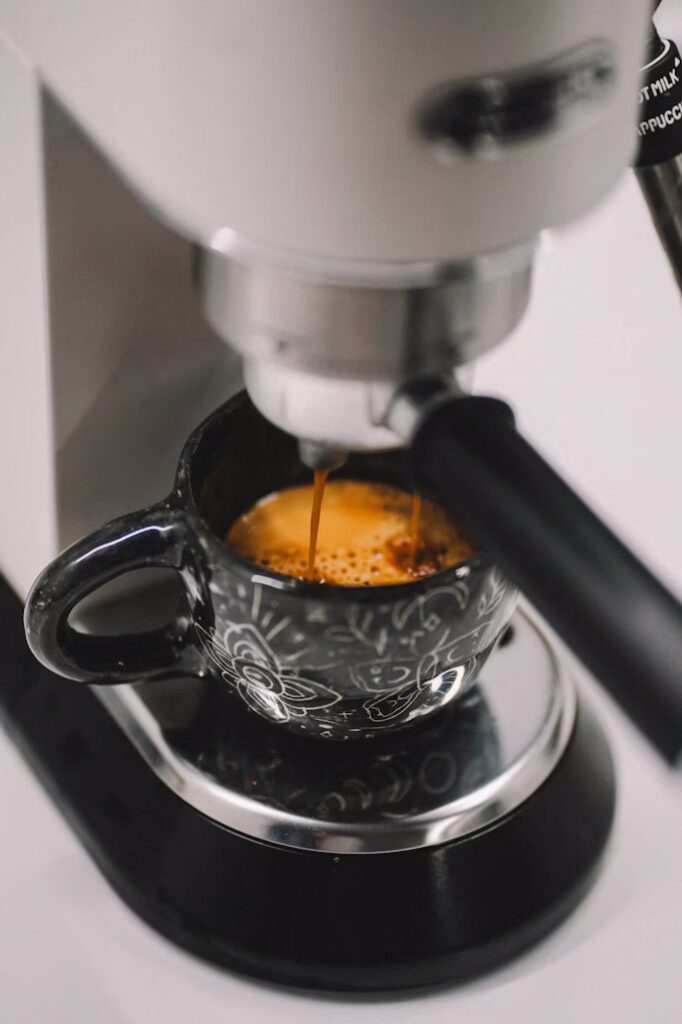
One of the most important skills in the Barista Guides journey is understanding the espresso recipe. Great espresso depends on the right balance between coffee dose, yield (what ends up in the cup), and extraction time.
1. Brew Ratio
The brew ratio compares the weight of the coffee grounds (dose) to the final liquid espresso (yield). A common starting point is a 1:2 ratio. For example, 18 g of ground coffee should yield about 36 g of espresso.
- 1:1 — Ristretto: thicker, more intense
- 1:2 — Normale: balanced and sweet
- 1:3+ — Lungo: lighter and more bitter
2. Yield
Yield is measured in grams, not milliliters, since crema can affect volume. Weigh your cup on a scale and stop your shot when you reach your target yield. For beginners, 36–40 g is a good target with an 18 g dose.
3. Extraction Time
Most espresso shots should extract between 25–35 seconds from the first drip. Too fast? Your grind is too coarse. Too slow? It’s likely too fine. Adjust grind size to bring extraction into this ideal range.
Mastering brew ratio, yield, and time is the heart of consistent espresso. Combined with proper dosing and grind adjustments, this framework gives you full control over your results—and sets the stage for perfecting your workflow in later steps of these Barista Guides.
Grind Size & Distribution — Laying the Foundation
Grind size is one of the most powerful variables in any Barista Guide. A tiny adjustment can dramatically change your espresso’s flavor, flow, and crema. Getting it right—and distributing it evenly—is the key to consistent, delicious extractions.
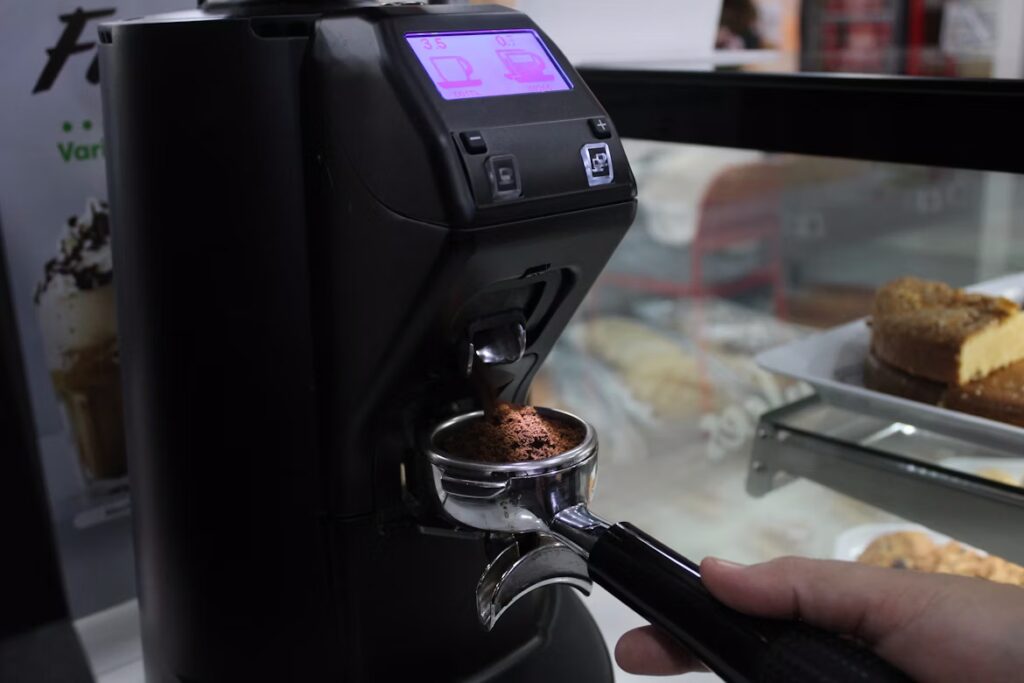
1. Grind Size Basics
Espresso grind should feel like fine table salt. But not all grinders produce uniform particles. Burr grinders—especially flat burrs—give more consistency than blade grinders or conical burrs alone. Start with a grind that produces a 25–30 second shot and adjust from there:
- Too coarse: Fast flow, under-extracted, sour
- Too fine: Slow flow, over-extracted, bitter
2. Distribution Matters
Uneven distribution leads to channeling, where water finds weak spots and over- or under-extracts parts of the puck. To prevent this, use a distribution technique before tamping:
- Stockfleth’s move: Rotate grounds with finger or flat tool
- WDT (Weiss Distribution Technique): Stir fine grounds with thin needles to break up clumps
- OCD tools: Use a leveler to smooth out the surface before tamping
Here is an interesting video that explains the differences:
Combining the right grind with even distribution prevents channelling and ensures each espresso shot extracts evenly. It’s one of the most overlooked steps in home brewing—and one of the most impactful. As you continue through these Barista Guides, remember: even puck prep equals better flavor.
Dialing In — Adjusting for the Perfect Shot
“Dialing in” means making small, strategic changes to grind size, dose, or yield to get the perfect espresso shot. It’s where science meets taste—and no Barista Guide would be complete without it.
1. The Dial-In Framework
Start with a baseline recipe, such as 18 g in → 36 g out in 28 seconds. Then taste and adjust based on the results. Use these cues:
- Sour or under-extracted: Grind finer or increase time
- Bitter or over-extracted: Grind coarser or reduce time
- Flat flavor: Try adjusting dose or ratio
2. Adjusting Variables
- Grind: Always adjust in small steps, especially on stepless grinders
- Dose: Higher doses create more resistance and pressure
- Yield: Changing output volume alters body and clarity
3. Keep a Brew Log
Use a notebook or app to track your changes. Record date, dose, yield, time, grind setting, and taste notes. This makes it easier to repeat wins and troubleshoot misses.
Dialing in takes time—but every shot teaches you something. As these Barista Guides show, espresso isn’t just a drink—it’s a process. Master it, and you’ll get café-quality results at home every day.
Milk Steaming 101 — Froth, Texture, Temperature
Perfect milk steaming transforms espresso into a luxurious latte, cappuccino, or flat white. In these Barista Guides, we’ll show you how to steam milk that’s silky—not bubbly—and balanced in flavor and texture.
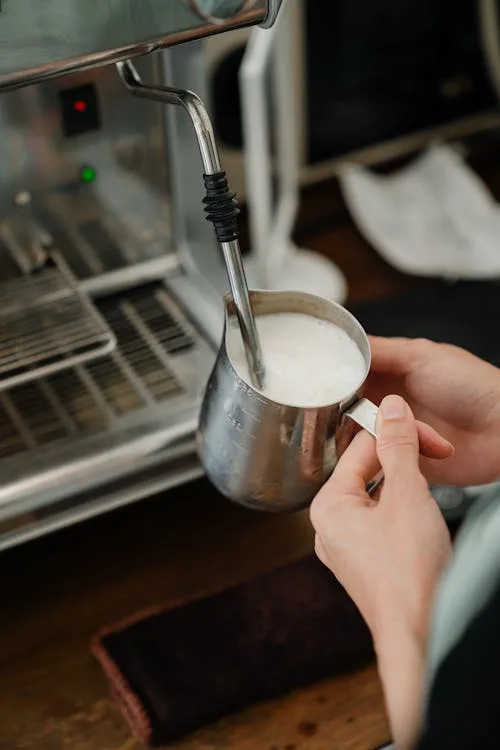
1. The Goal: Microfoam
Microfoam is velvety milk with tiny, uniform bubbles. It should look glossy and pour smoothly. This texture blends beautifully with espresso and is key for latte art.
2. Steaming Technique
- Start cold: Use fresh, cold milk and a clean pitcher.
- Stretching: Position the steam wand just below the surface to introduce air for 3–5 seconds.
- Texturing: Lower the wand to swirl milk and integrate air into a smooth vortex.
- Temperature: Stop steaming around 55–65°C (130–150°F)—use a thermometer or feel for when the pitcher becomes too hot to touch for more than 3 seconds.
3. Best Milk Types
Whole milk gives the richest texture, but alternatives like oat and almond can work well too (choose “barista” versions for stability and stretch).
With good technique and the right milk, you’ll be pouring smooth cappuccinos and silky flat whites in no time. These Barista Guides aren’t just about espresso—they’re about elevating the entire cup. Mastering milk is your next leap forward.
Setting Up an Efficient Home Barista Station
Your barista station is where technique meets efficiency. A well-organized space reduces mess, speeds up your routine, and helps you enjoy the espresso-making process. In this part of our Barista Guides, you’ll learn how to optimize your workflow and layout.
1. Start with the Essentials
Design your station around these core components:
- Espresso machine — Centerpiece of your setup
- Grinder — Close to the machine for easy transfer
- Scale and tamper — Within reach of your tamping mat
- Knock box — Positioned for quick puck disposal
- Milk pitcher and thermometer — Near steam wand
2. Use Tamping Mats and Trays
Tamping mats protect your counter and help define a workspace. Consider using silicone trays to hold your distribution tools and tampers so they’re always clean and ready.
3. Manage Accessories & Cleaning
Drawer organizers or small shelves can hold your cleaning brushes, filters, and cloths. Keep a microfiber cloth handy to wipe the steam wand and drip tray after each use.
Whether you have a large kitchen or a tight corner, a thoughtful layout makes you faster and more focused. These Barista Guides aren’t just about espresso technique—they’re also about building a space that inspires great coffee every day.
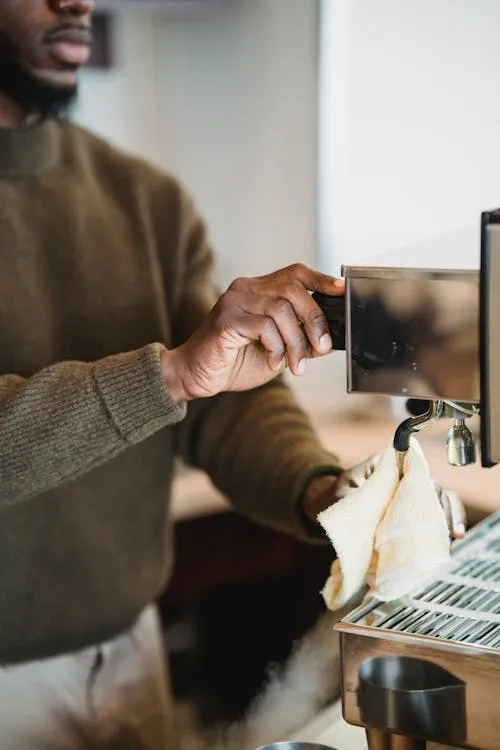
Cleaning & Maintenance — Keeping Gear Brew-Ready
Clean equipment doesn’t just last longer—it makes better espresso. Coffee oils, mineral deposits, and grind residue can all affect taste and machine performance. In this part of our Barista Guides, we’ll cover simple routines to keep your setup in peak condition.
1. Daily Cleaning Checklist
- Backflush with water after each session (if your machine allows it)
- Rinse the portafilter and basket between shots
- Purge the steam wand before and after steaming milk
- Wipe the group head and drip tray with a microfiber cloth
2. Weekly Maintenance
- Backflush with cleaner: Use espresso machine detergent and a blind filter
- Soak baskets and portafilter: Remove built-up oils
- Clean grinder chute: Use a brush or blower to remove fines and oils
3. Monthly or As-Needed Tasks
- Descale the machine: Especially if using hard water (check your machine manual)
- Deep clean grinder: Consider using grinder cleaning tablets
- Replace group gasket: If leaks start around the portafilter
Routine maintenance isn’t just about longevity—it’s about flavor. Clean equipment pulls cleaner shots. These Barista Guides help you build great habits that protect your investment and your espresso experience.
Common Espresso Problems & Quick Fixes
Even experienced home baristas run into issues. From sour shots to overflowing baskets, problems happen—but they’re almost always fixable. In this part of our Barista Guides, we’ll troubleshoot the most common espresso mistakes and how to fix them fast.
1. Shot Tastes Sour or Weak
- Cause: Under-extraction
- Fix: Grind finer, increase brew time, or raise the water temperature
2. Shot Is Bitter or Astringent
- Cause: Over-extraction
- Fix: Grind coarser, reduce brew time, or decrease dose
3. Channeling or Uneven Flow
- Cause: Poor distribution or tamping
- Fix: Use WDT tools, tamp level, and ensure even puck prep
4. Machine Leaks During Extraction
- Cause: Worn gasket or misaligned portafilter
- Fix: Replace gasket or reposition the portafilter securely
5. Steam Wand Spits Water
- Cause: Wand not purged before use
- Fix: Always purge steam wand before and after steaming
Make sure to check out this great guide on Coffee Machine Maintenance. It visually shows all the steps described in this article:
Use these quick fixes to stay in control. Troubleshooting is a big part of becoming a better barista. These Barista Guides are designed to help you identify what went wrong—and how to make it right next time.
Becoming a Pro — Practice, Taste, Repeat
The secret to becoming a skilled home barista isn’t expensive gear—it’s repetition, tasting, and refining. This final chapter in our Barista Guides series focuses on building habits that elevate every shot over time.
1. Make Espresso Daily
Repetition is your best teacher. Even five minutes a day can yield better shot consistency, tamping technique, and milk texture. As you build muscle memory, tasks become more intuitive—and enjoyable.
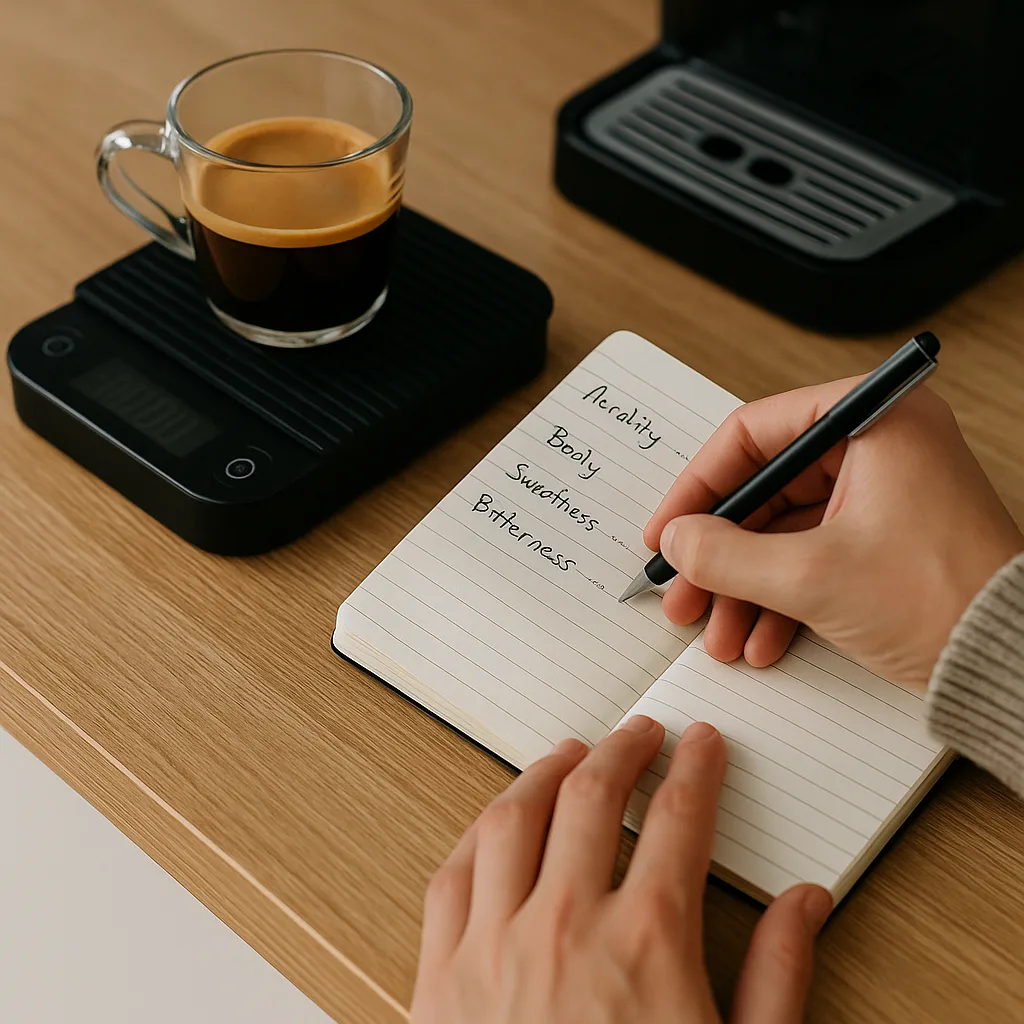
2. Use a Tasting Framework
Don’t just taste for “good” or “bad.” Evaluate espresso based on:
- Acidity: Bright, fruity notes or too sour?
- Body: Rich and full, or thin and watery?
- Bitterness: Balanced or overpowering?
- Sweetness: Natural sugars from perfect extraction
3. Join a Community
Follow home barista forums, Reddit threads, or Instagram creators. Watching others dial in or troubleshoot can improve your own process. Feedback and conversation accelerate growth.
4. Push Your Skills
Try new beans. Test different ratios. Tackle latte art. Experiment with water temperature. The more you push your boundaries, the more rewarding your coffee will be.
Every great barista started as a beginner. The difference is practice, patience, and curiosity. These Barista Guides give you the roadmap—your next step is brewing the journey into habit.
Choosing the Right Beans for Espresso
Even with perfect technique and high-end gear, you won’t pull great shots without the right beans. In this extension of our Barista Guides, we’ll break down how to choose beans that work beautifully for espresso—and how to keep them fresh.
1. Bean Type: Arabica vs. Robusta
Espresso is traditionally made with 100% Arabica beans or blends containing Robusta for added crema and strength. Arabica tends to offer complex flavors and balanced acidity, while Robusta contributes bitterness and body. For most home baristas, a high-quality Arabica or a medium Robusta blend works best.
2. Roast Level
Look for beans labeled as “espresso roast” or “medium-dark roast.” These are developed to hold up under pressure without turning overly bitter. Lighter roasts can be used, but they require very fine grind settings and longer dial-in times to avoid sourness.
3. Freshness Matters
- Roast date: Always check for a clear roast date—not just a “best by” tag.
- Degassing: Let beans rest 5–14 days after roast for optimal performance.
- Use within: Consume within 3–4 weeks of roast for best results.
4. Storage Tips
- Store beans in an airtight container, away from light and heat
- Avoid freezing unless vacuum-sealed and divided into small portions
- Grind fresh right before brewing for maximum flavor
Choosing great beans means more flavor, more crema, and a smoother experience from shot to sip. For curated picks, explore our Espresso Beans category for Amazon-ready blends that pair well with any setup in these Barista Guides.
Water Quality & Temperature Control
Water makes up over 90% of every espresso shot, yet it’s one of the most overlooked factors. This section of our Barista Guides explains how water quality and temperature precision impact taste, extraction, and equipment longevity.
1. Why Water Quality Matters
Bad water can ruin great coffee. Minerals in water affect extraction, while chlorine or high total dissolved solids (TDS) can lead to off-flavors and buildup inside your machine. Always use filtered water, not distilled or pure reverse osmosis (unless you re-mineralize).
2. Ideal Water Specs for Espresso
- TDS: 75–150 ppm (parts per million)
- pH: Close to neutral (6.5–7.5)
- Hardness: Moderate (avoid scale-forming water)
Use a TDS meter to measure your tap water or opt for espresso-specific water formulas (like Third Wave Water) for ideal results.
3. Temperature Stability
Espresso extraction is sensitive to temperature. Most machines target 90–96°C (194–205°F). Fluctuations outside that range can lead to sour (too cool) or bitter (too hot) results.
- PID Controllers: Machines with PID offer precise temperature control
- Flush Routine: For machines without PID, flush water to stabilize group head temp before pulling a shot
- Warm-Up Time: Always let your machine heat for 15–30 minutes before brewing
Better water and stable heat make everything else in your espresso workflow more predictable. It’s a small investment in taste and long-term equipment health—yet another crucial insight from these Barista Guides.
Introduction to Espresso-Based Drinks
Mastering espresso opens the door to a variety of café-style drinks you can make at home. In this final expansion to our Barista Guides, we’ll cover the most popular espresso-based beverages, their ratios, and how to perfect each one.
1. Espresso
It all starts here. A standard espresso is a 1:2 ratio—about 18 g of ground coffee yielding 36 g of liquid in 25–30 seconds. Serve in a preheated demitasse for best results.
2. Ristretto
A shorter shot (1:1 ratio) that emphasizes sweetness and body. Use the same dose as espresso, but cut the shot early—typically 15–20 g yield.
3. Lungo
A “long” shot with a 1:3 or 1:4 ratio. Often used for lighter, more diluted espresso flavors. Expect higher bitterness due to longer extraction.
4. Cappuccino
Traditionally 1/3 espresso, 1/3 steamed milk, and 1/3 microfoam. Serve in a 150–180 ml cup and aim for tight foam with minimal bubbles.
5. Latte
1 part espresso to 3–5 parts steamed milk, finished with a thin layer of foam. Lattes offer a mellow, creamy texture and are great for adding flavored syrups.
6. Flat White
Espresso with steamed milk and minimal foam—like a smaller, stronger latte. Typically served in a 5–6 oz cup with a double shot base.

Knowing the basics of espresso-based drinks helps you explore flavor and texture at home. These Barista Guides empower you to move beyond the single shot and explore the world of espresso—from ristretto to flat white—with confidence and skill.
Understanding Espresso Pressure & Bar Flow Rates
Espresso is often defined by pressure—specifically, the 9 bars of force that push water through finely ground coffee. But pressure isn’t just a number—it’s a vital variable in extraction. In this part of our advanced Barista Guides, we’ll break down what pressure really means, how flow rate affects your shot, and what to look for in your machine’s pressure profile.
1. What Does 9 Bars of Pressure Mean?
“Bars” refer to atmospheric pressure. 9 bars = 9 times the pressure of Earth’s atmosphere. This force compresses the puck and extracts oils, acids, and solubles that give espresso its intense flavor and crema. Most prosumer machines are calibrated to hit 9 bars as the ideal balance—enough pressure to extract without overdoing it.
2. The Role of Pre-Infusion
Pre-infusion refers to a gentle soak of the puck using low-pressure water (often 1–3 bars) before full pressure kicks in. This helps saturate the grounds evenly, reducing the risk of channeling. Machines with programmable pre-infusion allow for better flavor development, especially in light roasts that benefit from slower ramp-up times.
3. How Flow Rate Affects Taste
Pressure alone doesn’t guarantee good espresso. Flow rate—the speed at which water passes through the puck—is equally critical. Too fast, and you under-extract. Too slow, and you risk bitterness. Flow rate is influenced by grind size, puck prep, and the resistance the coffee bed creates under pressure. That’s why dialing in involves adjusting both grind and shot time to manage pressure behavior indirectly.
4. Variable Pressure Machines
Some high-end machines offer pressure profiling, allowing you to manually or electronically ramp pressure up or down during a shot. This is ideal for experimenting with complex roast profiles or tailoring extraction for specific beans. While not necessary for beginners, understanding how pressure shapes taste helps you get more from any machine—manual or automatic.
These advanced Barista Guides help you think beyond the basics. The more you understand pressure dynamics and flow control, the more you’ll unlock subtle flavors and greater consistency in every shot you brew.
Advanced Puck Prep Tools & Techniques
Once you’ve mastered the basics of tamping and distribution, puck prep becomes a playground for precision. This part of our Barista Guides explores advanced tools and techniques used by serious home baristas to reduce channeling, increase consistency, and improve flavor clarity shot after shot.
1. Weiss Distribution Technique (WDT) Tools
WDT tools are designed to break up clumps and evenly distribute grounds before tamping. Most use ultra-thin needles (0.3–0.4 mm) to stir the grounds gently. This is especially important for single dosing, where clumping is more likely. Look for a WDT tool with adjustable pins and an ergonomic handle to streamline your workflow.
2. Puck Rakes & Distribution Levelers
Unlike WDT tools, puck rakes and distribution levelers don’t stir—they even out the surface after dosing. These tools use spinning or sliding motion to flatten and level the grounds, creating a uniform puck density. Some baristas layer this on top of WDT for the ultimate prep combo. Use them with care—too much pressure can compact the coffee prematurely.
3. Tamping Innovations
- Calibrated tampers: Deliver consistent force every time (usually ~30 lbs), ideal for beginners or multi-user setups.
- Palm tampers: Designed to eliminate wrist strain and maintain level tamping across sessions.
- Pressure scales: Some baristas use force-sensing scales to test and train their tamping pressure.
4. Puck Screens
Puck screens are stainless-steel mesh discs placed on top of the coffee puck before locking in the portafilter. They help distribute water evenly, prevent direct channeling from the group head, and keep your shower screen cleaner. While not essential, they’re a favorite of advanced home baristas seeking extra consistency.
Every tool in your puck prep arsenal should serve one goal: more even extraction. These Barista Guides show how seemingly small steps—like stirring or leveling—can dramatically reduce defects and produce better tasting, more balanced espresso every time.
Tracking Progress with Espresso Journaling
One of the most underrated tools in any barista’s kit isn’t made of steel or chrome—it’s made of paper. Journaling your espresso workflow can fast-track your learning curve, expose patterns in your brews, and lead to more consistent, personalized results. In this part of the Barista Guides, we’ll explore how and why to document your espresso journey.
1. Why Keep a Brew Log?
Espresso is a game of fine margins. A few grams here, a second there, and the entire cup profile changes. By tracking what you do and how the shot tastes, you gain real feedback loops. You stop guessing and start dialing in based on facts, not feelings.
Whether you’re experimenting with new beans, adjusting grind size, or switching water sources, journaling gives you a clear reference point to learn faster and replicate successes.
2. What to Record
- Date & bean details: Roast date, origin, and variety
- Dose: In grams, ideally weighed on a 0.1 g scale
- Yield: Output weight in grams
- Extraction time: Shot duration from first drip to stop
- Grind setting: Numbered or notched for repeatability
- Tasting notes: Acidity, bitterness, body, and sweetness
- Rating or adjustments: Would you change anything next time?
3. Tools for Journaling
Use whatever fits your style. Some prefer old-school notebooks, while others use apps like Espresso Log, Bean Conqueror, or simple spreadsheets. Choose a format you’ll stick with—and that allows sorting or filtering over time.
As with everything in these Barista Guides, consistency comes from awareness. Journaling doesn’t just track numbers—it trains your palate, your intuition, and your technique. The best baristas brew with intention—and document their path to mastery.
Frequently Asked Questions
What’s the most important skill to master as a home barista?
Consistent puck preparation—including grind size, distribution, and tamping—is the foundation of every great espresso. Nail that, and you’ll avoid most shot issues.
How often should I clean my espresso machine?
Rinse and wipe it daily, backflush weekly, and descale monthly or as needed based on your water hardness and usage. Clean gear equals clean flavor.
Why does my espresso taste sour or bitter?
Sour means under-extracted (grind finer, extract longer); bitter means over-extracted (grind coarser, reduce time). Dialing in is key to balance.
Can I make good espresso with a budget machine?
Yes. Even entry-level machines can produce great results when paired with a quality grinder and proper technique. Focus on consistency, not price tag.
Do I need a scale for espresso?
Absolutely. A scale lets you control dose and yield with precision. Eyeballing leads to inconsistent shots and wasted coffee.
Conclusion & Final Takeaways
You’ve just completed the most comprehensive Barista Guide for home espresso enthusiasts. From dialing in grind size to mastering milk steaming, tracking your progress, and exploring advanced tools, this guide was built to grow with you—no matter where you are on your espresso journey.
Key Takeaways:
- Grind size, tamping, and puck prep are the foundation of every great shot
- Mastering pressure, flow rate, and temperature unlocks deeper flavor control
- Milk steaming transforms espresso into café-quality drinks with rich texture
- Maintaining clean, organized gear is essential for performance and taste
- Advanced tools like WDT, puck screens, and calibrated tampers increase consistency
- Choosing the right beans and water dramatically affects your espresso’s clarity
- Journaling your process sharpens your skills and speeds up your improvement
This guide is a living resource. Bookmark it, revisit it, and build your espresso station with confidence. When you’re ready to expand your setup or upgrade your gear, don’t forget to explore our product categories:
If this guide helped you, consider sharing it with fellow coffee lovers—or leave a comment with your favorite espresso tip. Great espresso is a journey, and you’re officially on the path to pro-level results.
Leave a Reply
You must be logged in to post a comment.